
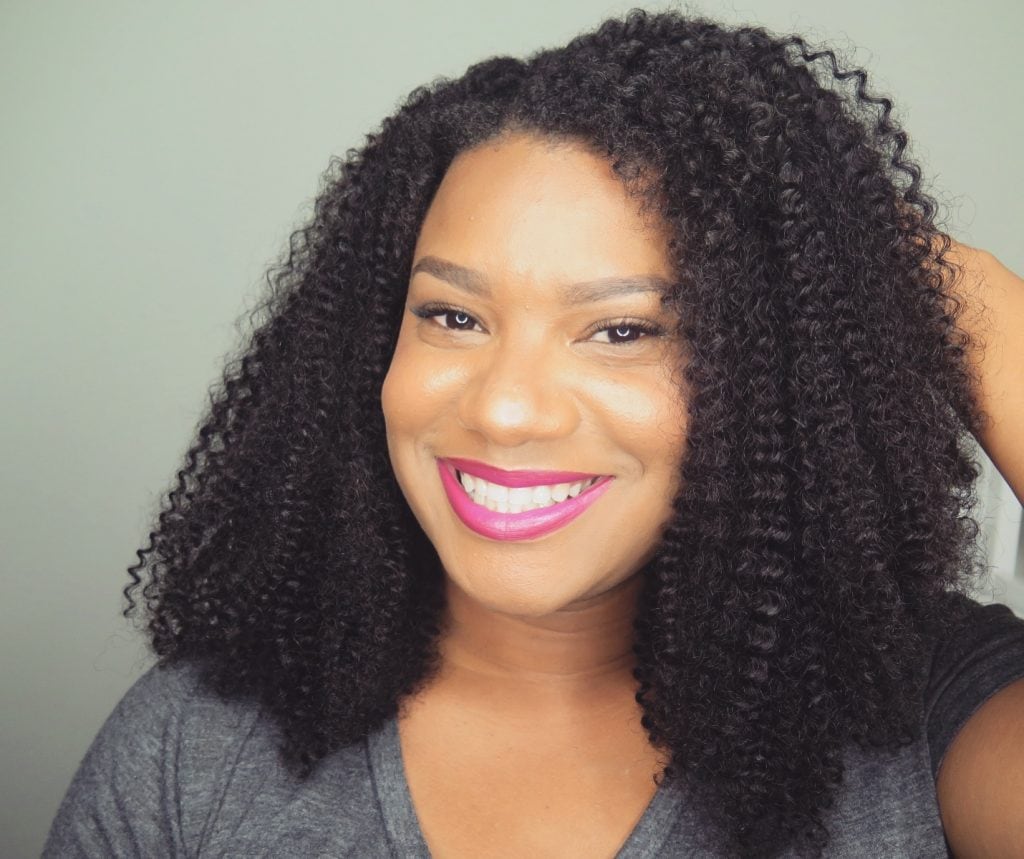
How to Install the Kinky Curly Yaki U-Part Wig Start to Finish
If you know me you know I’ve been a huge supporter of the Kinky Curly Yaki for months. As a result, I’m so excited to finally share this video! After years of watching and searching for the perfect wig tutorials, I decided to create my own once I saw Kinky Curly Yaki announce their new wig line. Additional details about the hair are below.
Hair: Kinky Curly Yaki
Texture: Afro Kinky Curly
Color: Natural Black
Length: 16″
I’m still on my No Heat 2016 Challenge so this wig has come in handy plenty of times along with the other wigs I’ve worn this year protective styles. If you have any questions don’t hesitate to ask. Just drop a comment below! Don’t forget to like and subscribe to the Youtube Channel to stay updated on my latest videos.
Here’s how you can save money…
Use discount Code: “TEXTUREDTALK” at checkout to save on your next Kinky Curly Yaki purchase.
Othe resources to check out if you’re interested in finding a quality wig for your natural hair.
How to Choose A Wig For Natural Hair
How to Make A U-Part Wig For Natural Hair
“Natural” Weaves & Why I Love Them
Did you enjoy this article? Subscribe to never miss a post!
[mc4wp_form]

Charlene Walton McCraney is a Dallas beauty and lifestyle blogger. After years of styling her and several friends’ hair as a hobby, offering advice and tips, she decided to combine two of her favorite things…writing and talking about natural hair!
TexturedTalk.com was created to promote healthy hair care for women of all textures and has since evolved into other beauty and lifestyle topics. Charlene loves teaching other aspiring bloggers on how to take their passion and turn it into amazing content to provide value.
Charlene is a previous beauty contributor to NaturallyCurly.com, CurlyNikki.com, and 21ninety.com.
When she’s not blogging she is probably crunching numbers as a Senior Financial Analyst, dancing or figuring a way to meet Beyonce in person. :)

U-part wigs are such a practical option when you want extra volume while still leaving some natural hair visible. I helped my cousin install one before a birthday dinner, and taking time to section and secure everything properly made the final style look much more natural. We wanted her leave-out to blend smoothly with the wig texture, so we checked lange reviews while comparing styling tools that could help shape the hair without spending forever getting ready. A detailed start-to-finish tutorial would have saved us plenty of experimenting that evening. Once everything blended together, the finished curls looked beautiful and surprisingly effortless.